Take a good, hard look at your cat’s favorite tree. Go on, we’ll wait. Is it more ‘fur-niture’ than actual furniture? Has that once-plush perch turned into a mess of shed hair, mysterious stains, and a funky smell you just can’t seem to shake? You’re definitely not the only one.
That well-loved tower attracts mess in ways you can’t imagine. However, bringing it back from the brink is way easier than you think.
Instead of just covering up the problem or giving up on that pricey cat condo, you can restore it. This guide will give you the no-nonsense, straight-up scoop on how to clean a cat tree and turn it back into the royal palace your feline truly deserves.

You might want to ignore that growing pile of fur, thinking it doesn’t matter. But, in reality, a dirty cat tree can cause serious issues for your pet and your home. It collects dust mites and allergens that fill the air and set off sneezes.
For your cat, a dirty surface can hide bacteria or fleas, which can cause skin problems and other health issues. Cleaning your cat’s tower will keep your pet fit and happy and your home fresh and safe for everyone.

Before you charge into battle, get all the things you’ll need. It’s so much easier to have everything at hand, instead of hunting for a brush or cloth in the middle of cleaning. Here’s what you need to tackle that dirty cat tree.
With this setup, cleaning your cat tree will be way easier and way less frustrating.
Ready to get this done? This straightforward, step-by-step tactic for cleaning a cat tree will deliver great results without wasting your entire afternoon. Just follow these steps, and that tree will be ready for inspection in no time.

First, you need to remove all that loose fur. Cat hair digs deep into the fabric; thus, a quick vacuum won’t cut it. Before you even touch the vacuum, put on your rubber glove. Wipe your gloved hand firmly across the carpeted surfaces. You’ll be amazed as the fur comes right off, collecting in satisfying clumps thanks to the static and friction.
Next, grab your stiff brush and scrub the carpeted parts with short, strong strokes to pull up the stuck hair.
Then, use your vacuum with the brush attachment on every part—the perches, hiding spots, base, and scratching posts. Don’t miss any corners. Finish by rolling a lint roller over the main areas to catch any hairs the vacuum missed. Fur is your main challenge in cleaning a cat tree.

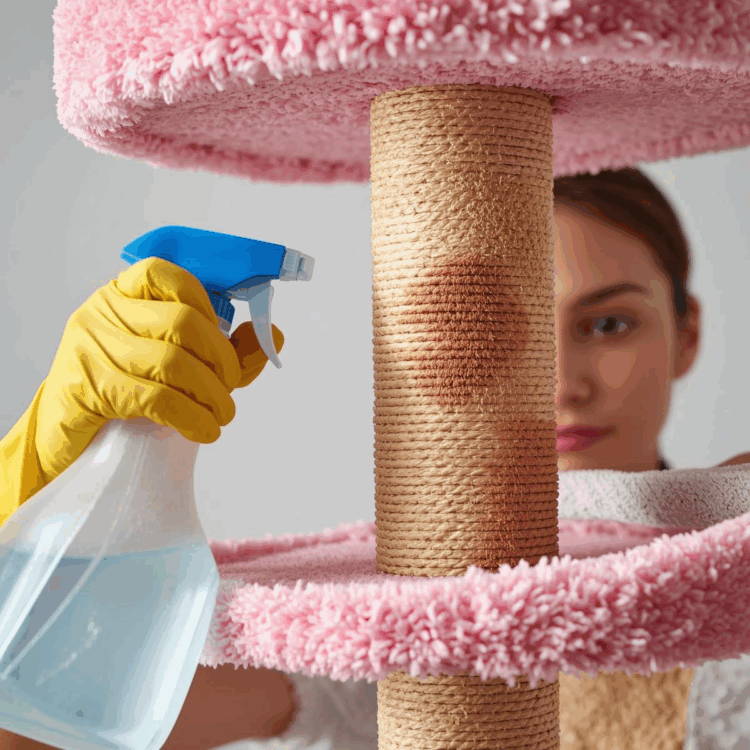
Now you’ll see the real mess once the fur is gone. Spray your enzymatic cleaner on the stains, and let it sit for 15-20 minutes to permit the enzymes to break down the stains.
Use a damp cloth to blot the spots—don’t scrub; otherwise, you’ll just make it worse. Press and lift until the mark starts to disappear. For really tough, set-in stains, you might need to repeat this process two or three times. Be patient, as letting the cleaner do its work is more effective than aggressive scrubbing.

Stains gone, but still catching a whiff of that cat smell? Baking soda is your best friend. Not only does it mask odors, but it also absorbs and neutralizes them.
Cover all fabric parts with a generous layer of baking soda—don’t be stingy. Use your hand and gently rub it into the fibers for maximum effect. Let it sit for at least 30 minutes, or a few hours if your cat tree has a pungent, foul odor. Finally, clean it all up to remove the smell and the mess.

Almost finished! Wipe any wood or plastic surface with a wet cloth, followed by a dry one to ensure everything is dry fully. A muggy cat tree can get moldy since most cat trees are made of particleboard or MDF wood, which acts like a sponge.
To help it dry quickly, place it in an area with good airflow, such as near a window or fan. For any particularly damp spots from stain cleaning, you can use a hairdryer on a low or cool setting to spot-dry the area. Once totally dry, your cat can climb back on their clean throne.
While the carpeted parts of the cat tree get the most grime, the other surfaces deserve attention, too. To clean your cat tree thoroughly, you should tackle every material.

